- how to build a simple React application that interacts with an existing GraphQL API
- what the React application will look like
- the plan we intend to follow in the next couple of sections
In order to follow this tutorial, you must use Webiny version 5.18.0 or greater.
The code that we cover in this section can also be found in our GitHub examples repository  . Also, if you’d like to see the complete and final code of the application we’re building, check out the
 full-example folder.
Overview
In the previous Extending GraphQL API section, we’ve extended our GraphQL API with the new Pin GraphQL type and a basic set of related CRUD query and mutations operations. Now it’s time to start building our frontend React application.
Essentially, the application will consist of the following two pages:
Homepage - a list of all pins, created by different users:
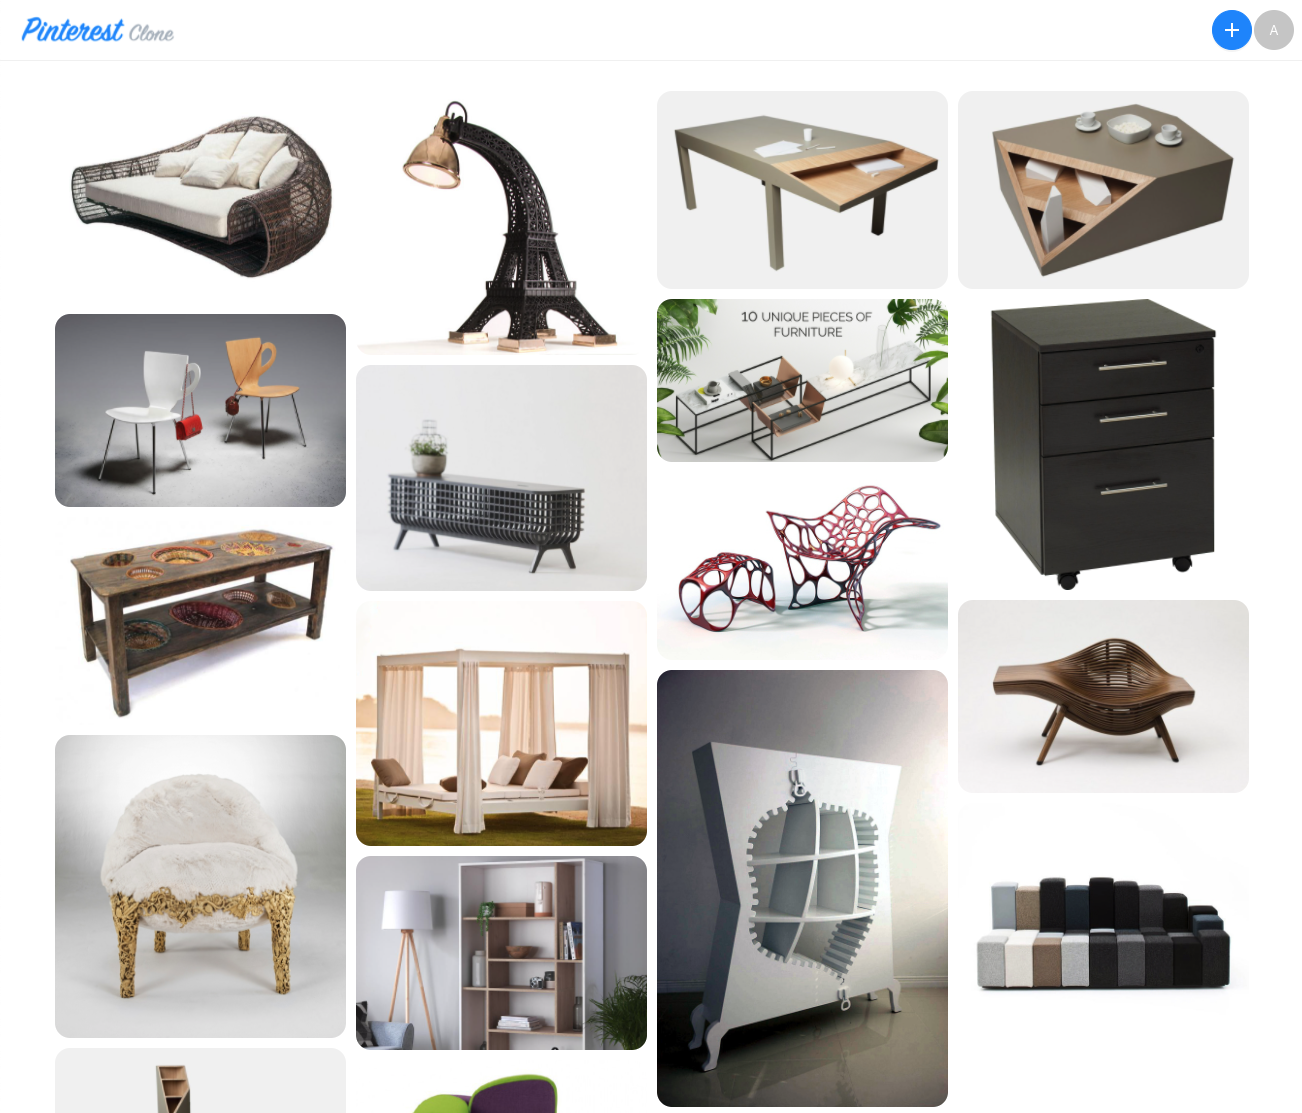
The Pinterest Clone Application Pin Details:
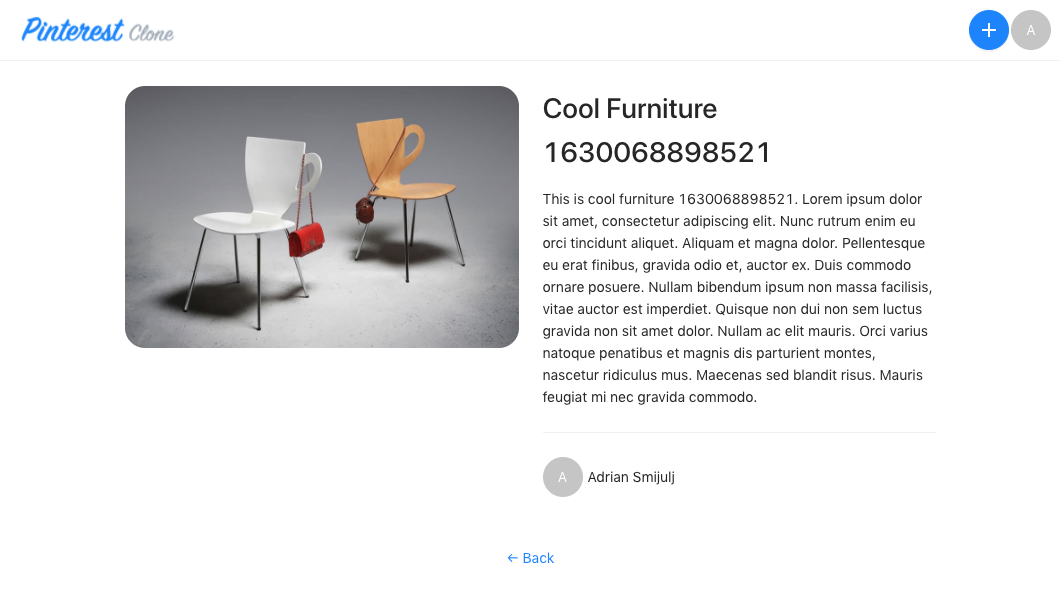
Viewing a Pin
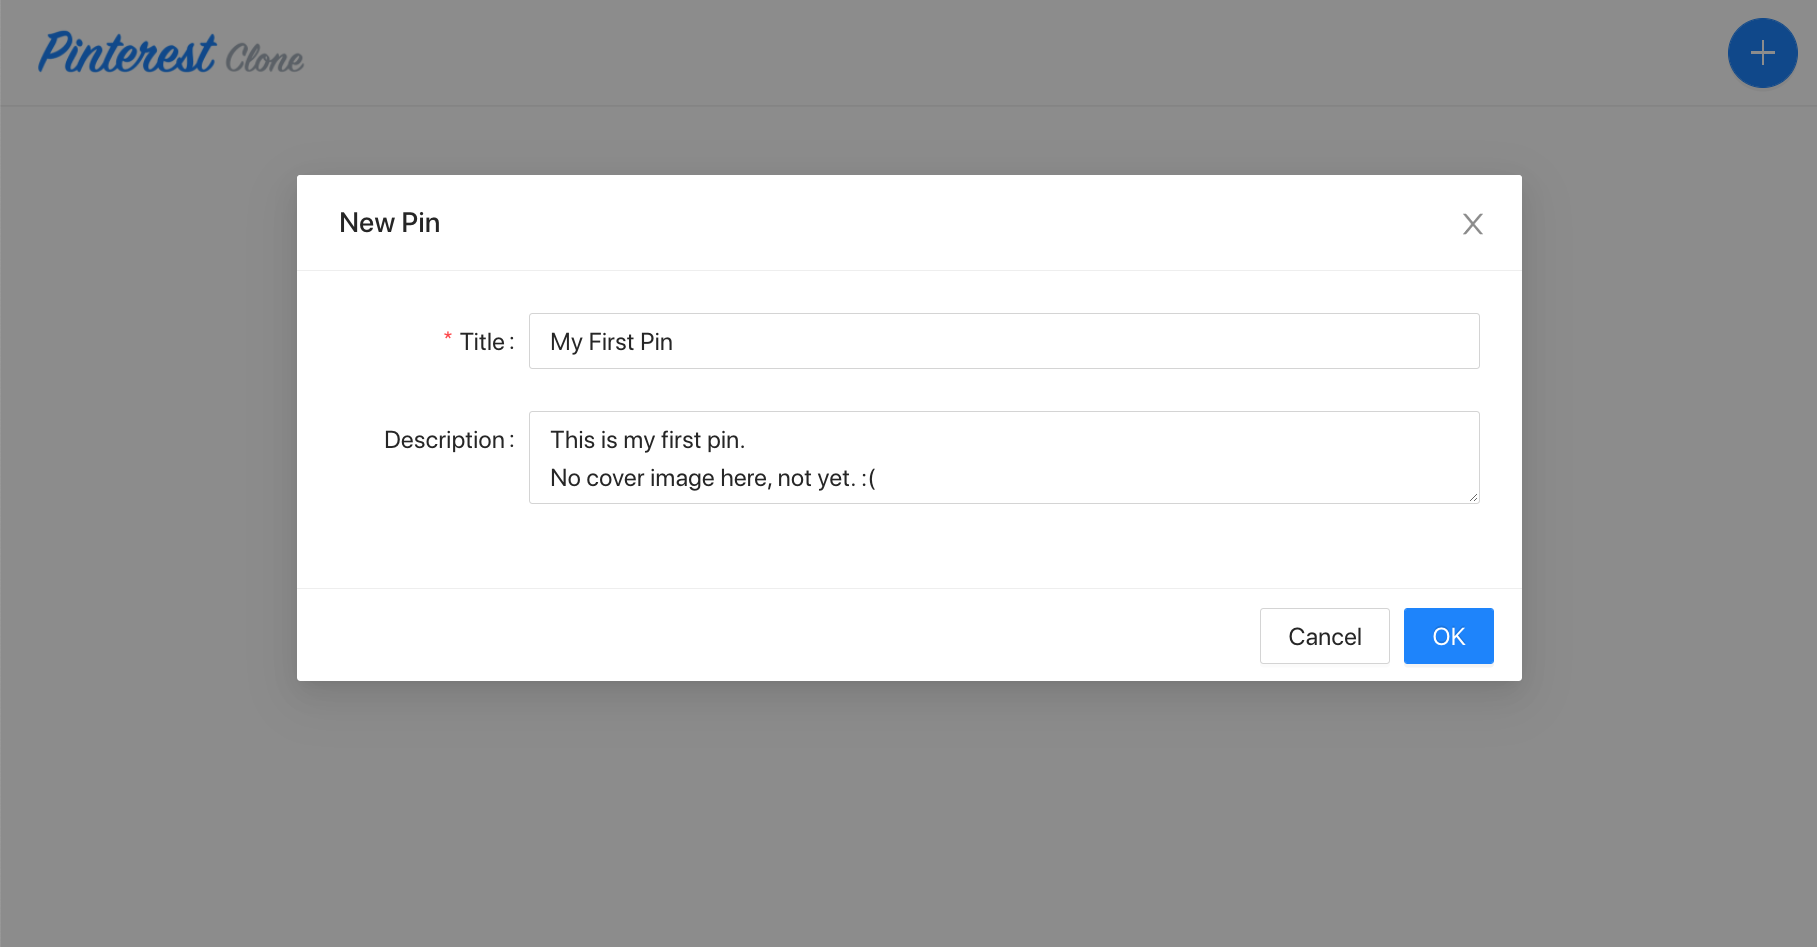
With these two pages, we’ll also have to create a simple New Pin modal dialog that will enable users to create new pins:
Before we start with any kind of coding, let’s quickly outline the plan.
The Plan
As seen in the Getting Started section, the Full Stack Application scaffold generates a brand new React application inside the pinterest-clone/app folder, with the actual application code located in the pinterest-clone/app/code folder:
pinterest-clone/app
├── code
│   ├── public                    # Contains initial HTML file and meta files.
│   ├── src                       # React application code.
│   │   ├── components            # Shared components go here.
│   │   ├── images                # Images go here.
│   │   ├── plugins               # All plugins go here.
│   │   ├── styles                # All SCSS styles go here.
│   │   ├── App.scss              # SCSS styles entrypoint file.
│   │   ├── App.tsx               # Contains root `App` React component.
│   │   ├── apollo.ts             # Sets up the Apollo GraphQL client.
│   │   └── index.tsx             # Application entrypoint file.
├── pulumi                        # Cloud infrastructure code.
└── webiny.application.ts         # Project application's manifest file.
This is where we’ll build our application and we’ll build it in the following order.
Application Layout
By default, the created React application contains its own layout, styles and some components. So, we’ll want to make some adaptations here, remove some existing code, and add some new. For example, we’ll need to change the global Layout component and related CSS styles. We’ll also need to set up the mentioned Ant Design React library.
New Pin Modal Dialog
Once we have the layout ready, we will continue by creating the New Pin modal dialog. This is what will enable users to create new pins, which we’ll later display on the homepage. Additionally, we’ll also get the chance to interact with the GraphQL API, by issuing our our first GraphQL mutation.
Homepage - List of Pins
Once we’re able to create new pins, we can proceed by building the homepage which will display pins created by different users. Apart from doing some minor styling, here we’ll also have the chance to interact with the GraphQL API, where we will need to retrieve the list of all created pins, sorted from latest to oldest.
Pin Details Page
Finally, on the homepage, once a user clicks on a pin, we need to redirect her/him to the Pin Details page. This is where we’ll show pin’s title, description, and the user that created the pin.
Additional Notes
To create our React application, we won’t be relying on any existing scaffolds. Instead, we’ll simply use our existing React and CSS (Sass ) knowledge. And, as previously mentioned, we’ll also use the Ant Design React library, which will make the whole process a bit faster.
Additionally, note that, for now, we won’t be dealing with security and the file upload functionality. We will tackle these separately, in the upcoming sections of this tutorial.