- how to create a simple homepage that lists the pins created by different users
- how to execute GraphQL queries using already configured Apollo Client
- quick introduction to the
@webiny/react-routerlibrary
In order to follow this tutorial, you must use Webiny version 5.18.0 or greater.
The code that we cover in this section can also be found in our GitHub examples repository 
full-example 
Overview
Now that we have our New Pin modal dialog working as expected, we’re can continue by creating the homepage. As seen in previous sections, the homepage lists all pins that were created by different users.
Like in the previous section, fetching the list of created pins can be easily done via the Apollo Client 
useQuery 

Luckily, we can achieve this pretty easily with a small React library called react-columned 
Home 
We already had a quick mention of the Home 
Creating the Homepage
For starters, let’s add the mentioned react-columned 
yarn workspace pinterest-clone-app add react-columnedOnce we have that, we can start working on our homepage. The following is the final Home 
pinterest-clone/app/code/src/plugins/routes/home.tsx 
import React from "react";
import { RoutePlugin } from "@webiny/app/plugins/RoutePlugin";
import { Link, Route } from "@webiny/react-router";
import { Empty } from "antd";
import { useQuery } from "@apollo/react-hooks";
import gql from "graphql-tag";
import Columned from "react-columned";
import Layout from "~/components/Layout";
import blankImage from "~/images/blankImage.png";

const LIST_PINS = gql`
    query ListPins($sort: PinsListSort, $limit: Int, $after: String, $before: String) {
        pins {
            listPins(sort: $sort, limit: $limit, after: $after, before: $before) {
                data {
                    id
                    title
                }
            }
        }
    }
`;

// The home page.
const Home: React.FC = () => {
    const listPinsQuery = useQuery(LIST_PINS, { variables: { limit: 100 } });
    const { data = [] } = listPinsQuery?.data?.pins?.listPins || {};

    return (
        <Layout className={"home"}>
            {data.length > 0 ? (
                /* If we have pins to show, use the `Columned` component to render them in a mosaic layout. */
                <Columned>
                    {data.map(item => (
                        /* Every pin should link to its details page. */
                        <Link key={item.id} to={"/pins/" + item.id}>
                            {/* If the pin contains an image, we show it. Otherwise, we show a placeholder image. */}
                            <img
                                title={item.title}
                                alt={item.title}
                                src={item.coverImage || blankImage}
                            />
                        </Link>
                    ))}
                </Columned>
            ) : (
                /* If there are no pins to show, render "Nothing to show." message. */
                <Empty description={"Nothing to show."} />
            )}
        </Layout>
    );
};

// We register routes via the `RoutePlugin` plugin.
export default new RoutePlugin({
    route: <Route path="/" exact component={Home} />
});
In order for the above code to work, make sure to copy and paste the blankImage.png 
pinterest-clone/app/code/src/images 
Notice how we’ve used the tilde (~) character to target the parent images 
components 
../../../ can make our import statements easier to read and maintain.
As we can see, the file contains the Home 
ListPins GraphQL query, and then, based on the received data, rendering each pin as an image and link to the Pin Details page (more on this soon). And, in order to achieve the mentioned mosaic layout, the pins are wrapped with the Columned component, imported from the added react-columned 
Furthermore, note that, by default, the React application that’s generated during the Full Stack Application scaffolding process uses @webiny/react-router 
RoutePlugin 
Home 
// We register routes via the `RoutePlugin` plugin.
export default new RoutePlugin({
    route: <Route path="/" exact component={Home} />
});
All of these plugins are then registered in the pinterest-clone/app/code/src/plugins/index.ts 
import { plugins } from "@webiny/plugins";import apolloLinkPlugins from "./apollo";import home from "./routes/home";import notFound from "./routes/notFound";
// Imports and registers all defined plugins.plugins.register([  // Various Apollo client plugins.  apolloLinkPlugins,
  // Application routes.  home,  notFound]);
At the moment, this file already includes all of the necessary imports. No further changes need to be made.
The @webiny/react-router 

react-router-dom 
ReactRouterOnLinkPlugin 
Additional Page Styles
One last thing before we move on. Let’s replace the code in the existing home.scss 
// Home page styles.
.home {
    img {
      vertical-align: middle;
      border-style: none;
      width: 100%;
      border-radius: 20px;
      padding: 5px;
    }
}
Not super important, but making this change this will make the pins listed on our homepage look a little bit nicer.
Final Result
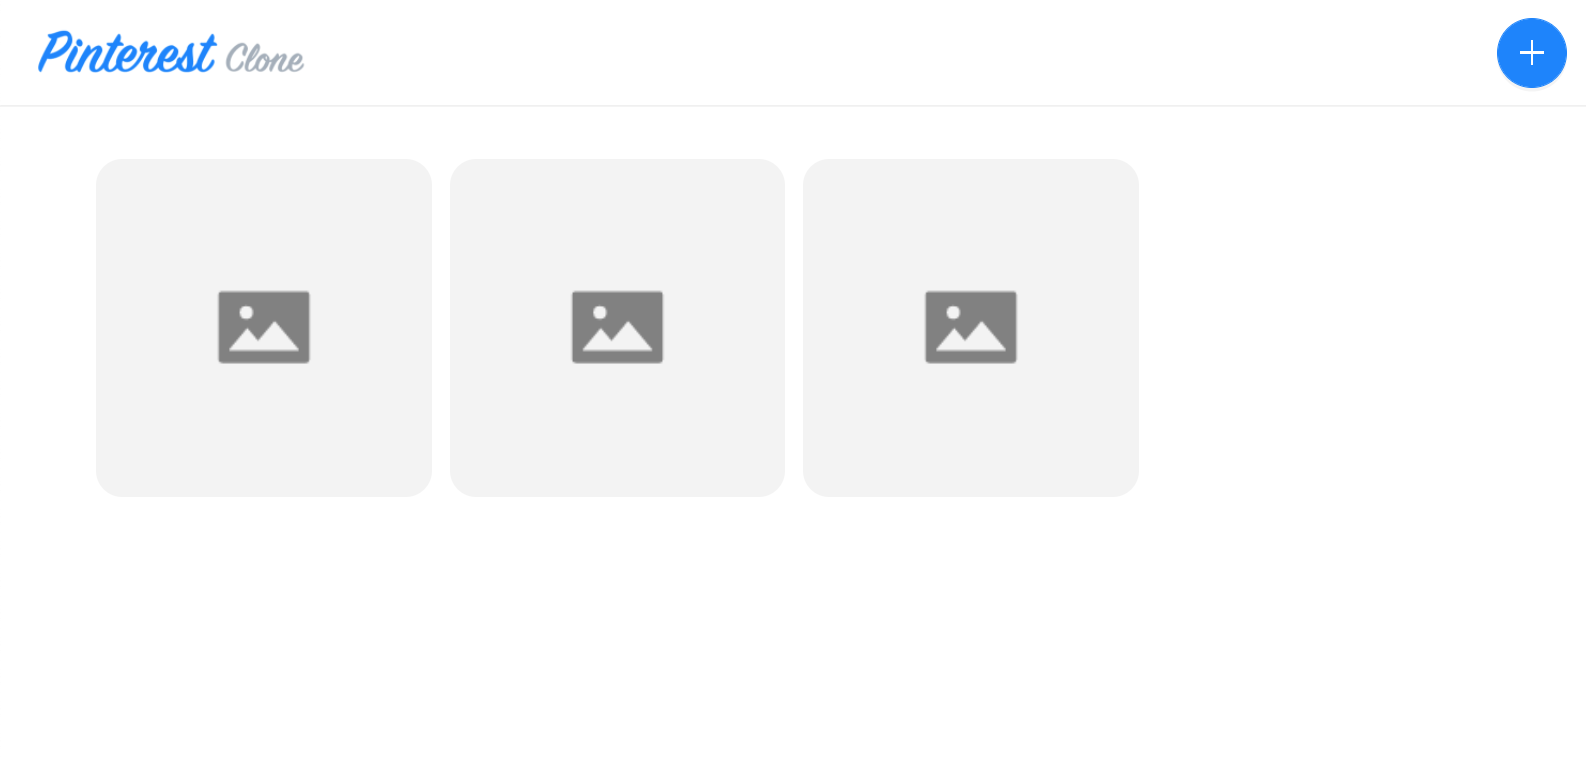
With this component in place, our homepage should look like the following:
At the moment, we could probably say that our homepage looks a bit bland and maybe boring. But we don’t need to worry about that for now. The whole page will start looking much more lively as soon as we bring the missing cover image field and file upload functionality into the mix.
For now, our goal was to have our homepage show a list of pins created by different users, and we’ve certainly achieved that. This means we’re ready for the final step, and that’s creating the Pin Details page.

